はじめに
他システムからSharePointリストに文書と添付ファイルを移行する機会がありましたので、その時の手順をまとめます。
事前準備と制約事項
事前準備
- SharePoint Online Client Components SDKが実行端末にインストールされていること
- 移行先のSharePointリストが事前に定義されていること
制約事項
- PnP.PowerShellが実行端末に同居していないこと:PnPがあると処理エラーとなる可能性がありますので、ない環境が望ましいです。(あってもPnPを宣言しなければいけたかもしれませんが、すみません、忘れました)
- リッチテキストはこの手順では移行できません。
PowerShell実行までの手順
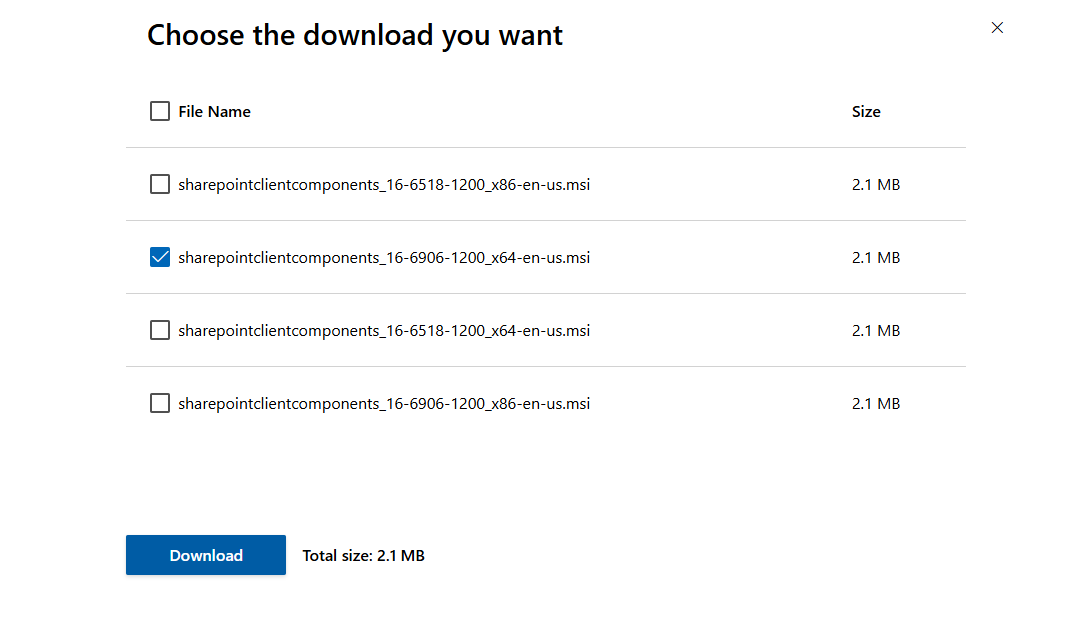
SharePoint Online Client Components SDKのインストール
以下からコンポーネントをダウンロードします。インストール自体は一瞬で終わります。

Download SharePoint Online Client Components SDK from Official Microsoft Download Center
The SharePoint Online Client Components SDK can be used to enable development with SharePoint Online. Notice that we do ...
www.microsoft.com

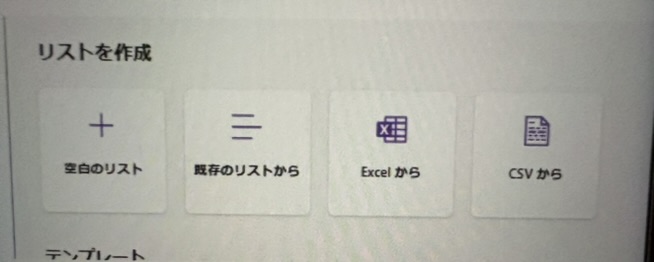
SharePointリストに文書をアップロード
エクセルまたはCSVファイルからアップロードしてSharePointリストを作成します。文書移行はこの手順が一番手っ取り早いです。
キー項目と同名のフォルダをエクスプローラで作成
SharePointリストには一意の情報とするために登録時自動的にIDが附番されます。それをキーの一部として、スレッドにファイルを添付していきます。
実際私の行った手順としては、IDと元の文書タイトルと同名のフォルダを作成し、その配下に添付したいファイルを格納するという方法を取ってます。(他にキーにできる項目があればそれでも可)

少々下準備が大変ではありますが、移行元システムでPGMを組んで出力すれば比較的容易に出力できるのではと考えております。
PowerShellのコマンドレット(サンプル)
# SharePointのアセンブリをロード
Add-Type -Path "C:\Windows\Microsoft.NET\assembly\GAC_MSIL\Microsoft.SharePoint.Client\v4.0_16.0.0.0__71e9bce111e9429c\Microsoft.SharePoint.Client.dll"
Add-Type -Path "C:\Windows\Microsoft.NET\assembly\GAC_MSIL\Microsoft.SharePoint.Client.Runtime\v4.0_16.0.0.0__71e9bce111e9429c\Microsoft.SharePoint.Client.Runtime.dll"

# 変数の設定
$siteUrl = "https://your-tenant.sharepoint.com/sites/your-site/your-sharepoint-list"
$userName = "XXXX@your-tenant.onmicrosoft.com"
$passWordFile = "yourPassWordFileDirectory"
$directoryPath = "yourDirectory"
$listName = "yourListName"

# パスワードをセキュアストリングに変換
$securePassword = Get-Content $passWordFile | ConvertTo-SecureString

# 認証情報を作成
$Credentials = New-Object Microsoft.SharePoint.Client.SharePointOnlineCredentials($userName, $securePassword)

# Context作成
$context = New-Object Microsoft.SharePoint.Client.ClientContext($siteUrl)
$context.Credentials = $Credentials
$list = $context.Web.Lists.GetByTitle($listName)

$query = New-Object Microsoft.SharePoint.Client.CamlQuery
$query.ViewXml = ""
$listItems = $list.GetItems($query)

# 読み込みと実行
$context.Load($listItems)
$context.ExecuteQuery()

# ディレクトリ内のフォルダ取得
$folders = Get-ChildItem -Path $directoryPath -Directory

# リストアイテム毎に処理
foreach ($item in $listItems) {
    # ID_タイトルを検索キーとする
    $searchName = [System.String]::Concat($item.Id, "_", $item["Title"])
    foreach ($folder in $folders) {
        if ($folder.Name -eq $searchName) {
            $files = Get-ChildItem -Path $folder.FullName
            foreach ($file in $files) {
                $ulFile = [System.IO.FileInfo]$file.FullName
                $at = New-Object Microsoft.SharePoint.Client.AttachmentCreationInformation
                $at.FileName = $ulFile.Name
                $at.ContentStream = $ulFile.OpenRead()
                $item.AttachmentFiles.Add($at)
                $context.Load($item.AttachmentFiles)
                $context.ExecuteQuery()
                $at.ContentStream.Close()
            }
        }
    }
}

# 後始末
$context.Dispose()
まとめ
以上で、「PowerShellでSharePointリストにファイルを一括で添付する手順・処理」でした。事前準備がめんどいですが、必要に応じて参考にしていただければと思います。